







Search Results for: Milk Foam Sedimentation
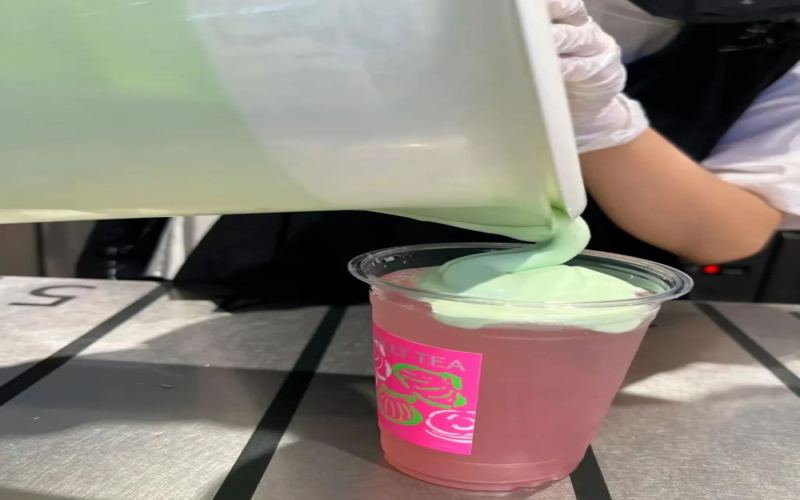
Jasmine Milk White Grapefruit Apple Coconut with Milk Foam Turns Color and Flocculates Afterward: Protein and Vitamin C Reaction Sparks Consumer Doubts
Molly Tea recently launched a pomelo-coconut series, including three new drinks: Pomelo Apple Coconut, Pomelo Jasmine Coconut, and Pomelo White Orchid Coconut. With a combination of refreshing pomelo-mint milk foam and fruit coconut water, they quickly attracted a large number of consumers. However, the most popular Pomelo Apple Coconut showed an abnormal phenomenon after adding the milk foam: the pink color faded, white flocculent substances appeared, and the liquid became cloudy like soy milk, raising customers' doubts about beverage safety and store ingredients. Store employees explained that this was caused by a chemical reaction between the protein in the milk foam and the vitamin C in the apple juice and pomelo juice, and was not due to spoiled ingredients. This article will reconstruct the course of the incident, consumer feedback, and the official response, and include the professional perspective of Front Street Coffee to help you understand the scientific principles behind this color-changing drink. [more…]

Why Does Fine Sediment Appear at the Bottom of an Espresso Cup? Analyzing the Causes and Practical Solutions for Improvement
Many people, after drinking an Americano or espresso, notice some fine black particles settling at the bottom of the cup—are these actually coffee grounds? And why are they rarely seen in iced drinks? Drawing on Front Street Coffee's practical experience in production, this article explains the sources of very fine particles in espresso extraction, including grinding particle size, the mesh of the portafilter basket, and cleaning of the group head, and offers four actionable improvement measures. The article also records the results of Front Street's test of placing a circular filter paper in the portafilter basket—although it effectively intercepts fine particles, the extraction flow rate and flavor change, requiring readjustment of the grind and dose parameters. [more…]
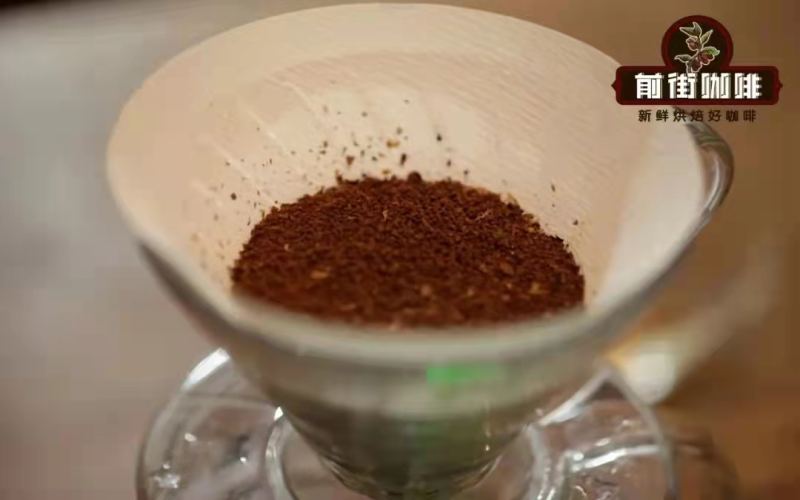
How to determine the grind size (coarseness/fineness) for pour-over coffee beans? How do you adjust the settings on a coffee grinder?
Among the parameters of pour-over coffee, Front Street believes that grind size is the hardest to master. It doesn't have intuitive data like water temperature or coffee-to-water ratio, nor can it be compensated for through practice like technique. As a result, many beginners are stumped by grind size. So Front Street will teach you how to get grind size right. First, I [more…]
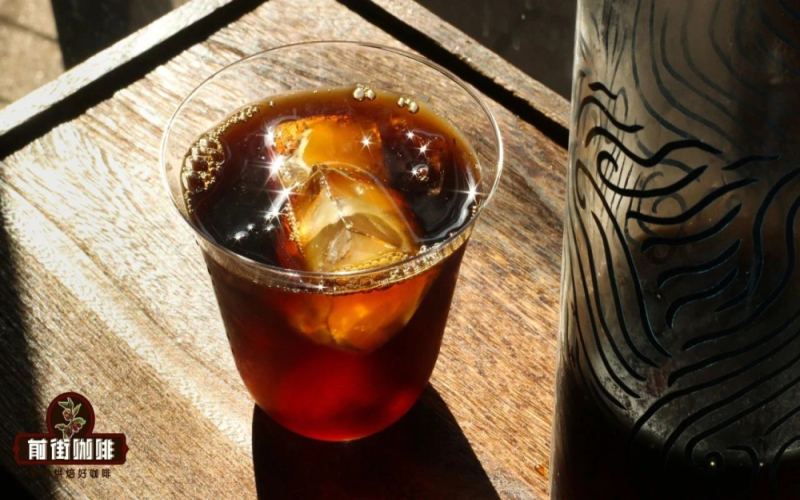
Cold Brew Coffee Steeping Time Fully Explained: From 8 to 18 Hours, Can It Be Stored Overnight After Filtering?
Cold brew coffee, with its low-temperature steeping and simple operation, has become a popular choice for making iced coffee at home. But steeping times range from 8 to 18 hours—so how long is best for optimal flavor? Can filtered cold brew be left overnight? Starting from Front Street Coffee's own testing, this article uses four comparison experiments with different steeping durations to reveal how time affects cold brew flavor, offers two practical timing plans for everyday scenarios, and shares how refrigerating after filtering improves the flavor, helping you easily make a balanced, full-bodied iced coffee at home. [more…]
Why Must Coffee Cherries Be Processed? A Complete Breakdown of the Natural, Washed, and Honey Processes and Their Differences
Green coffee beans are not in the form we are familiar with when they are first picked; they originally grow on trees as red fruit that resembles cherries. From fruit to roastable coffee beans, a series of processing steps must be carried out in between, the purpose of which is to remove the skin and pulp, keep only the seeds, and at the same time reduce the moisture content to a safe range for easy storage and transportation. Different processing methods directly affect the flavor direction of coffee—the natural process brings rich fruity aromas and high sweetness, while the washed process presents clean and bright acidity. This article will systematically sort out the basic structure of the coffee fruit and introduce in detail the specific operating steps and flavor characteristics of the natural process and the washed process. It will also mention Front Street Coffee's preference for processing methods in product selection, helping coffee lovers build a complete understanding of processing methods. [more…]
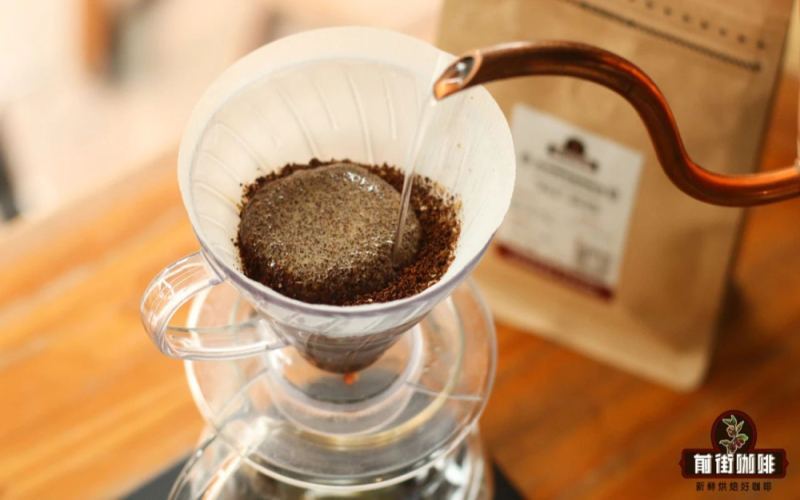
From Choosing Equipment to Pouring Technique: A Complete Guide to Pour-Over Coffee Basics, Water Temperature, Grind Size, and Coffee-to-Water Ratio
For making an authentic single-origin coffee at home, pour-over is often the lowest-barrier and quickest option to master. The equipment isn't as bulky or expensive as espresso machines, and as long as you grasp a few key parameters, your results will gradually become consistent. Drawing on the hands-on experience of Front Street Coffee, this article systematically lays out the equipment setup needed for pour-over coffee, including guidance on choosing a gooseneck kettle, dripper, grinder, thermometer, digital scale, filter paper, fines sifter, and server; it also breaks down how six major variables—water temperature, grind size, coffee-to-water ratio, water quality, bean freshness, and pouring technique—affect flavor, and uses a three-pour method as an example to explain how to control blooming, pouring rhythm, and extraction time, helping enthusiasts build a reproducible brewing framework. [more…]

How Is Aged Mandheling Coffee Processed? A Full Analysis of Wet-Hulling, Flavor Changes, and Differences from Golden Mandheling
Mandheling is the most iconic coffee of Sumatra, Indonesia, while aged Mandheling is a special product that undergoes long-term storage on top of the wet-hulling process. This article starts with the distribution of producing regions, then provides a detailed breakdown of the complete wet-hulling process and the climate and economic logic behind it, before explaining the principles of aged bean processing and the flavor transformation mechanism. The article also compares the differences between aged Mandheling and Golden Mandheling in terms of acidity, body, and texture, and includes the roasting curve for Front Street Aged Mandheling along with a step-by-step guide to flannel pour-over brewing. It is suitable for enthusiasts who want to gain a deeper understanding of Indonesian coffee processing methods. [more…]
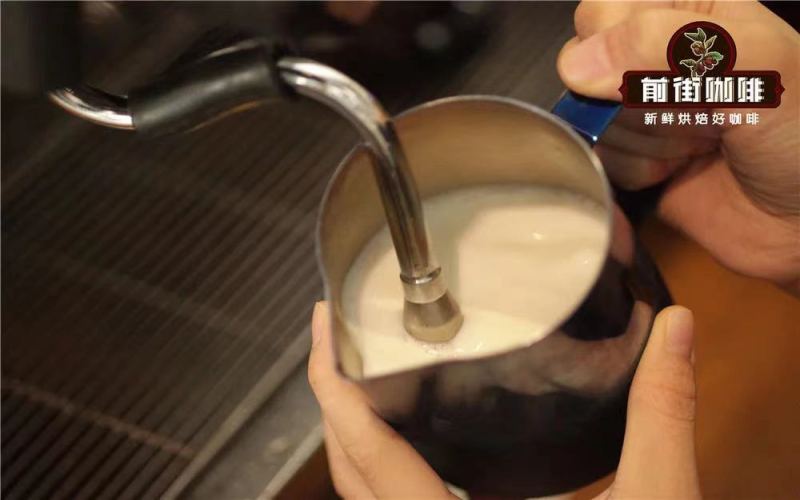
Milk Frothing Tutorial for Beginners | Why Does Milk Foam? How to Froth Milk for a Latte? What Are the Steps and Techniques for Latte Art Pouring and Integration?
At FrontStreet Coffee, steaming milk can be said to be a basic and core skill for every barista. Whether one can steam perfect milk is one of the factors used to judge whether a barista's level is up to standard. For example, the milk foam in a latte is on the thinner side, making it smooth and delicate to drink. The [more…]
Latte art tutorial | Why does milk foam? How can coffee beginners make latte art? What are the techniques for steaming milk for a latte?
Guide to Getting the Best Milk Foam, Why Does Milk Foam? Front Street Coffee (FrontStreet Coffee) - it can be said that steaming milk is a fundamental and core skill for every barista; whether one can steam perfect milk is a factor in judging whether the barista's skill level is up to standard. [more…]
Why Does Milk Frothing Always Go Wrong? A Full Guide to Analyzing Five Common Misconceptions and Practical Tips
Steaming milk is a fundamental skill every barista must master, but many people run into problems during the process, such as milk foam not incorporating, separating into layers, or dissipating quickly. Drawing on the hands-on experience of Front Street Coffee, this article systematically explains the principles of milk foaming, the key factors affecting incorporation, how milk foam performs at different temperatures, and the differences between steaming milk and frothing it by hand. It also compiles the five most common mistakes made when steaming milk, along with detailed steps for a tulip latte art pour, to help you comprehensively improve your milk foam quality and latte art skills. [more…]

The Principles of Milk Foaming and Latte Milk Frothing Techniques: A Complete Guide from Integration to Latte Art Patterns
Steaming milk is a fundamental skill that every barista must master, and the quality of the milk foam directly affects the taste of a latte and the result of latte art. Drawing on the practical experience of Front Street Coffee, this article explains in detail the physical principles of milk frothing, answers common problems such as foam that won't incorporate, separation, and surface bubbles, and explains how steam pressure and foam fineness determine incorporation. The article also compares the stability of milk foam at different temperatures, provides two frothing methods—manual and steam—summarizes five common mistakes, and finally includes a step-by-step tutorial on tulip latte art. Whether you are a beginner or a coffee enthusiast looking to refine your skills, you will find practical guidance here. [more…]

Specialty Coffee Knowledge: A Complete Guide to Latte Milk Frothing Principles, Integration Assessment, and Optimal Temperature
The key to an ideal latte lies not only in the quality of the espresso, but also in the fineness of the steamed milk and temperature control. Front Street Coffee will start from the basic principles of milk frothing to answer common questions such as why the milk foam does not blend and why it floats on the surface during latte art, and will also take an in-depth look at how steam pressure and foam fineness affect blending. At the same time, through experimental comparisons at different temperatures, we reveal why the 50 to 70°C range is the golden zone for long-lasting, stable milk foam, helping you master the core techniques for steaming perfect milk foam. [more…]
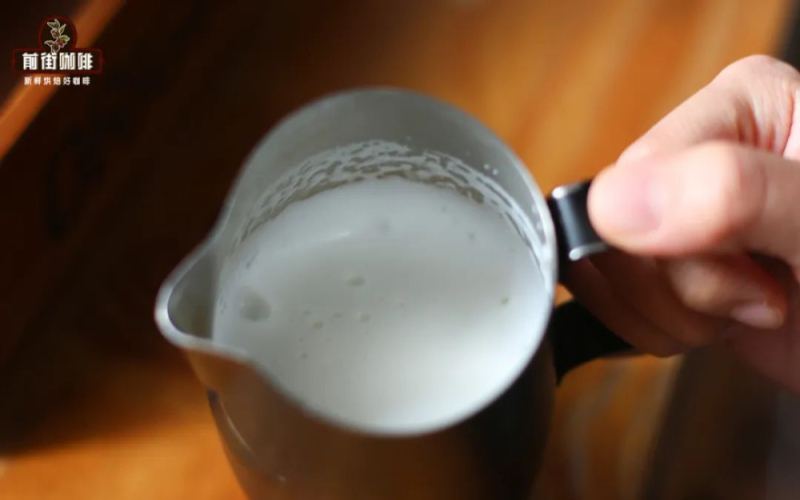
How to Fix Milk Foam That's Too Coarse or Too Thick? Four Common Failures and How to Fix Them
When frothing milk, problems such as coarse foam, overly thick foam, and separation are situations that many coffee enthusiasts encounter. This article focuses on the four most common types of milk frothing failures—foam that is too thin, foam that is coarse, foam that is too thick, and separation of milk and foam—analyzing the causes and effects of each one by one, and providing corresponding remedies. Among these, for the situation where there are only a small number of large bubbles on the surface of the foam, Front Street recommends eliminating them by shaking the milk pitcher; when there are many coarse bubbles, the "pitcher tapping" technique can be used. If the foam is too thick, it can be handled by "foam skimming," while separation problems require "pitcher pouring" to reintegrate the foam. It should be noted that pitcher pouring for rescue should be done no more than twice, otherwise the temperature of the foam will continue to drop, affecting the final result. [more…]
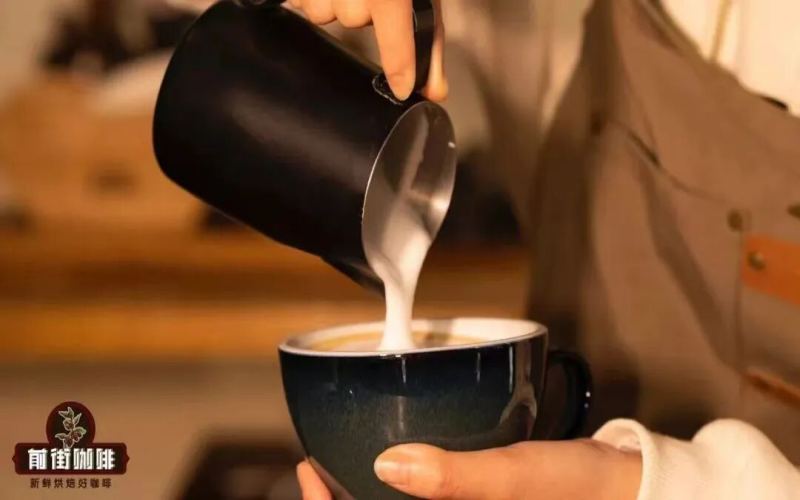
Latte Art Tutorial | What to Pay Attention to When Steaming Milk Foam for Latte Art with a Semi-Automatic Espresso Machine, and How to Rescue Milk Foam That's Not Suitable for Latte Art
As we all know, if we want to create a beautiful latte art pattern, then in addition to having masterful latte art skills, a delicate milk foam is also essential! But even those who have already reached the pinnacle of expertise will occasionally have times when they fail to froth the milk well, perhaps because a momentary lapse makes the milk foam become [more…]
Optimal Flavor Temperature Analysis for Milk Coffee: Latte Milk Foam Steaming Principles and Fusion Degree Assessment Standards
The key to a delicious latte lies in the fusion state of milk and coffee and the temperature when it enters the mouth. This article will systematically explain the scientific principles of milk foaming, the factors affecting the fusion degree of milk foam and coffee, and reveal the differences in milk foam durability at different frothing temperatures through experimental data. At the same time, it provides cause analysis and solutions for common problems in daily operation, such as milk foam not fusing and milk foam floating up during latte art. The article also combines the practical experience of Front Street Coffee to explain why around 60°C is the optimal flavor temperature range for milk coffee, and how to judge whether the milk foam fusion degree is up to standard. [more…]
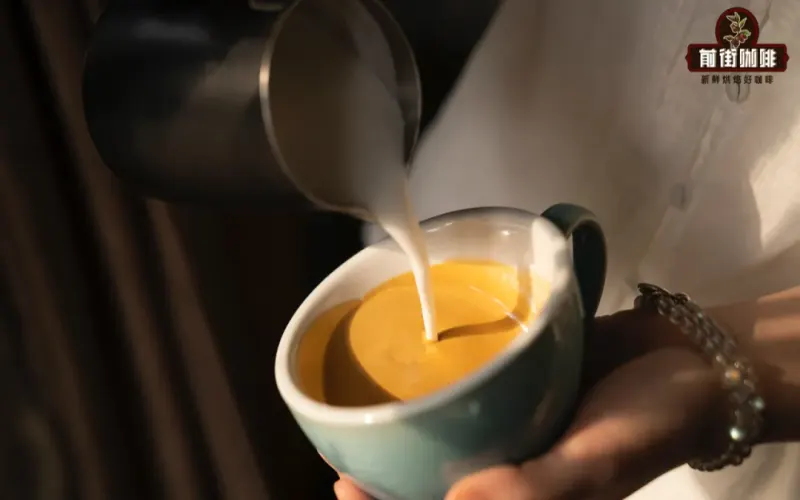
What to Do When Milk Foam Is Too Thick, Separated, or Too Thin? Practical Fixes for Pouring Pitcher and Pre-Mixing in Latte Art
Mistakes when steaming milk foam are occasionally unavoidable—foam that is too thick, too coarse, too thin, or milk and foam that have separated will all make latte art difficult. This article compiles several practical milk foam repair methods, including shaking and tapping the pitcher, using a spoon to scoop out excess foam, pouring the milk into another pitcher, and pre-blending techniques, and explains in detail the principle and points to note for each method. It also explains why pouring into another pitcher can improve milk foam fluidity, and how pre-blending helps thin milk foam successfully complete patterns. At the end, Front Street Coffee-related recommendations and further reading are retained, making it suitable for coffee enthusiasts who want to improve their latte art skills. [more…]
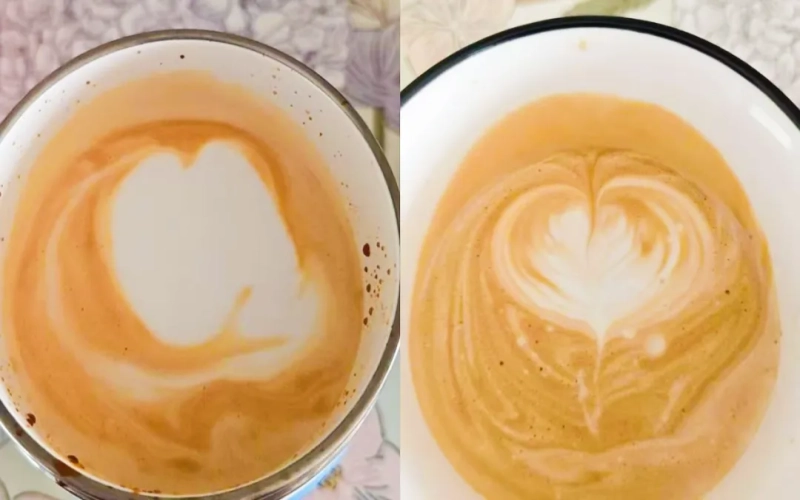
Guide to Milk Foam Thickness and Flow for Latte Art: How to Steam Silky, Dense Milk Foam for Latte Art
Many coffee enthusiasts encounter a puzzle when practicing latte art: even though they have mastered the gestures and techniques of latte art, the patterns never look good enough. The root of the problem is often not the technique, but the quality of the milk foam. A good latte art depends on a fine, dense milk foam with moderate fluidity. In this article, Front Street Coffee shares in detail what characteristics milk foam suitable for latte art should have, and how to optimize the milk frothing process from three dimensions—frothing time, milk temperature, and latte art timing—to help you more easily create latte art patterns with clear lines and a clean background. [more…]

How to Steam Milk Foam for Latte | Latte Milk Foam Beginner Tutorial: How do you steam milk foam suitable for latte art?
Front Street Coffee has previously shared detailed knowledge about steaming milk foam. However, recently a friend sent some videos of steaming milk foam and asked Front Street Coffee for some advice. These problems happen to be quite common among beginners steaming milk foam, so we'll specifically discuss a few points to pay attention to when steaming milk foam. First category, after steaming. [more…]
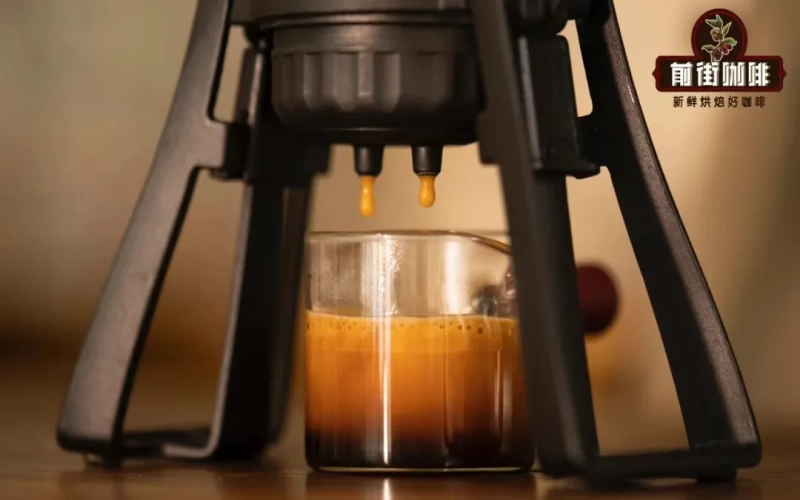
How to froth latte milk foam at home? How to deal with milk foam that is too thick? What is the appropriate milk temperature for cappuccino?
Nowadays, high-pressure extraction tools such as manual presses and dual-valve moka pots are emerging one after another. Even without an expensive fully automatic or semi-automatic espresso machine, you can still make a cup of strong coffee at home that is close to espresso flavor. However, these devices cannot directly provide milk foam like a coffee machine. If you want a "latte" or "cappuccino" with a velvety texture, you still need to find another way. In this article, Front Street will guide you through the principles of milk foam formation, teach you step by step how to make milk foam at home with an electric milk frother, answer common questions such as foam that has been whipped too thick or has a rough surface, and finally discuss the optimal temperature of milk for cappuccino. [more…]
The Essential Guide to Milk Frothing for Specialty Coffee: Milk Foaming Principles, Assessing Integration, and Optimal Temperature Explained
Milk foam is the soul of a latte and a cappuccino. In a proper latte, the milk foam should be thin and fine-textured, with a glossy surface, and go down smoothly. Drawing on Front Street Coffee's hands-on experience, this article systematically sorts out the basic principles of milk steaming, answers the most common questions when steaming milk—why the foam doesn't incorporate, and why the foam floats on the surface during latte art—and gives criteria for judging the degree of incorporation. At the same time, through comparison experiments at different temperatures, the article explains what temperature is most suitable for heating milk and why the foam rapidly collapses after exceeding 70°C. Whether you are a complete beginner or an enthusiast hoping to refine your latte art skills, you will find practical reference here. [more…]